DIY Solar Battery Storage: A Practical Build Guide With LiFePO4
Imagine riding out a blackout with the lights on, fridge running, and no generator noise, all powered by energy you stored yourself. DIY solar battery storage makes that possible, giving you energy independence, backup power during outages, and savings on peak electricity rates. Whether you're off-grid, want emergency resilience, or simply tired of rising utility bills, building your own system puts control in your hands. In this guide, you'll learn how to select compatible components, design and install a safe, efficient solar battery storage system, and maintain it for years of reliable performance. Let's immerse.
Key Takeaways
- DIY solar battery storage systems capture excess solar energy during the day and store it for nighttime use, backup power, and complete energy independence from rising utility bills.
- The four essential components of any DIY solar battery storage setup are deep-cycle LiFePO4 batteries, an MPPT charge controller, a pure sine wave inverter, and properly gauged wiring with a Battery Management System to monitor cell health and safety.
- Voltage compatibility is critical—all components (batteries, charge controller, and inverter) must operate at the same voltage (typically 12V or 24V) to prevent system damage or failure.
- Calculate your daily energy load by listing appliance wattages and usage hours, then add 20–30% buffer for inverter inefficiency and cloudy days to determine your required battery bank size.
- Proper installation requires connecting panels to the charge controller, batteries to the inverter in the correct sequence, mounting panels at your latitude angle for maximum sun exposure, and testing all systems before adding critical loads.
- Regular maintenance—including panel cleaning, connection inspections, battery monitoring via BMS apps, and load management during peak sun hours—extends system lifespan and maximizes efficiency by 20–30% when upgrading from PWM to MPPT controllers.
Before you start: A DIY solar battery build is real engineering. Sizing the BMS wrong, fusing wrong, or pairing an incompatible charge controller can result in fire. This guide is written for the prosumer/DIY audience that's comfortable with NEC code and DC system design. If that's not you, please use a licensed installer.
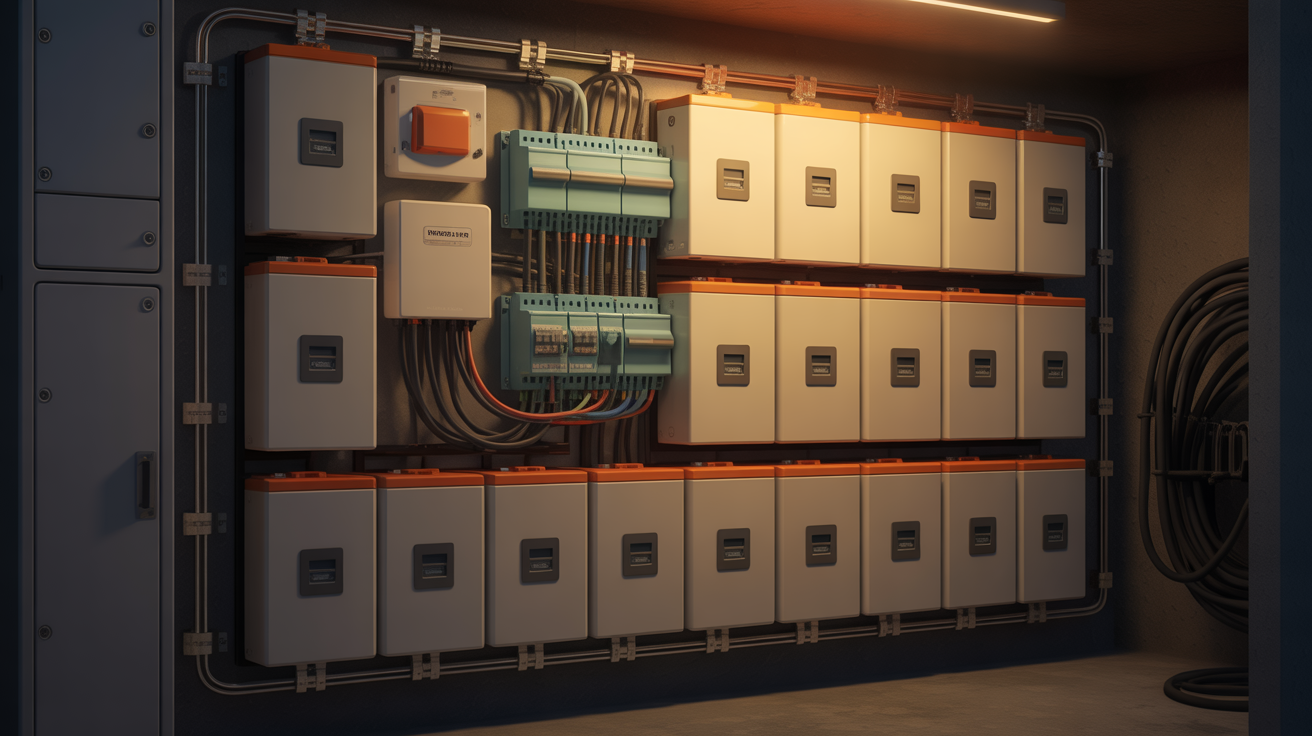
The Five Components of a DIY Solar Storage System
- Solar panels (or wind, micro-hydro — anything that produces DC).
- Charge controller (MPPT — takes panel DC voltage and tunes it to battery charging voltage).
- Battery bank (cells + BMS + enclosure).
- Inverter (battery DC → home AC).
- Disconnects, fusing, and grounding (per NEC Article 690 and 706).
Understanding Solar Battery Storage Systems and Key Components
What Solar Battery Storage Does
A solar battery storage system captures excess energy from your solar panels during the day and stores it for use at night, during cloudy weather, or when the grid goes down. Instead of sending surplus power back to the utility, you bank it in batteries, giving you backup power, peak-shaving capability, and true energy independence.
For homeowners and off-grid property owners, this means resilience. For solar installers and businesses, it means offering clients complete, reliable solutions.
Core Components You'll Need
Every DIY solar battery storage system shares a handful of essential parts:
- Deep cycle batteries: The heart of your system. Lithium iron phosphate (LiFePO4) batteries are the gold standard, lightweight, long-lasting (3,000–5,000+ cycles), and far safer than lead-acid. Common DIY setups start with 1–2 kWh packs, expandable via series or parallel wiring for more voltage or capacity.
- MPPT charge controller: This device manages power flow from your solar panels to your batteries, maximizing efficiency (often 20–30% better than older PWM controllers). It prevents overcharging and deep discharge, extending battery life.
- Solar inverter: Converts stored DC battery power into AC power for your home appliances. Size it to handle your total load, if you plan to run 1,500 watts simultaneously, choose an inverter rated at least that high (2,000W+ for headroom).
- Cables, connectors, and mounts: Properly gauged wiring prevents voltage drop and overheating. Secure mounts (frames, brackets) hold panels at optimal angles and protect against snow or wind.
- Battery Management System (BMS): Built into quality LiFePO4 packs or added separately, a BMS monitors cell health, balances charge across cells, and cuts power if temperature or voltage strays out of safe range.
Compatibility is Critical
Mismatched voltages are the #1 killer of DIY systems. If your solar array outputs 24V, your charge controller, batteries, and inverter must all work at that voltage. Double-check spec sheets, and when in doubt, consult manufacturer guidelines or experienced integrators.
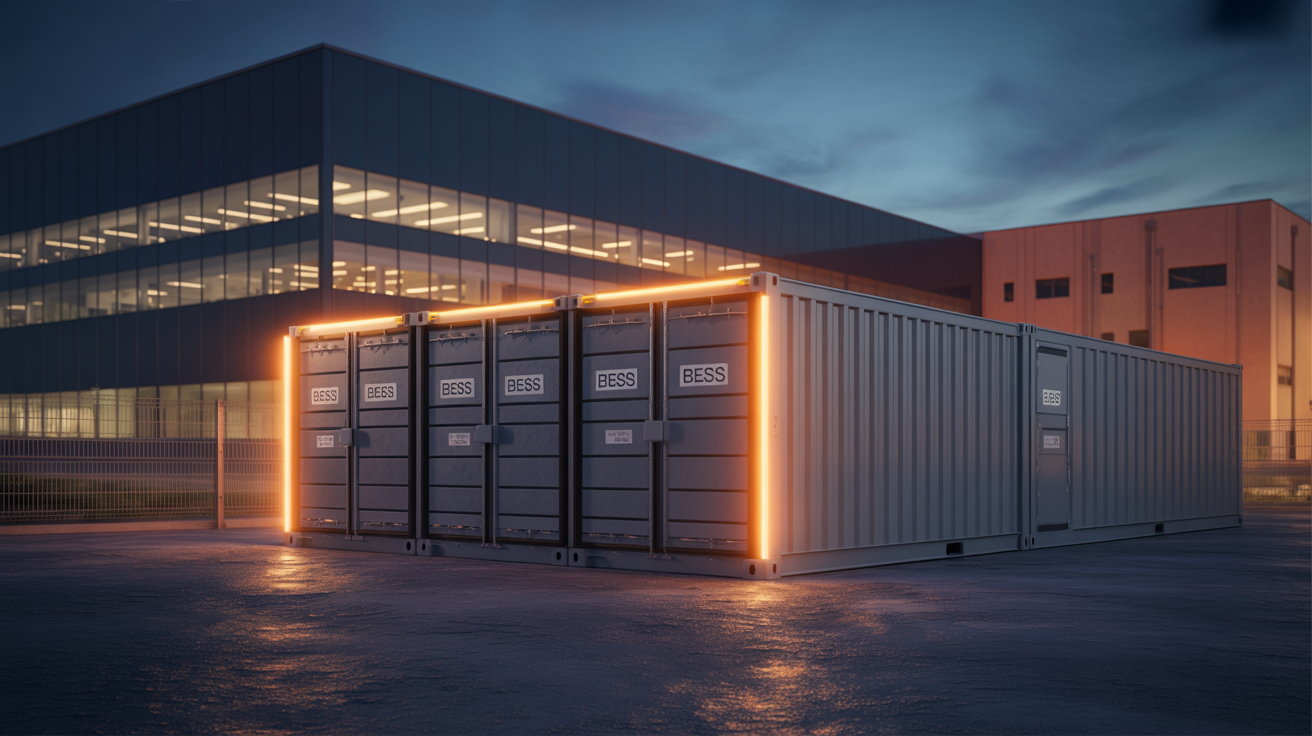
For example, Humless BESS offers modular LiFePO4 systems designed to integrate seamlessly with solar, wind, or grid sources, pre-matched components save you guesswork and potential failures.
Typical System Configurations
A basic 1–2 kWh DIY setup might include:
- 200–400W solar panel array
- 12V or 24V LiFePO4 battery bank (100–200 Ah)
- 30A MPPT charge controller
- 1,000–2,000W pure sine wave inverter
This handles essential loads like lights, a fridge, laptops, and phone chargers. Scale up capacity and inverter size for whole-home backup or high-draw appliances (well pumps, air conditioning).
Step-by-Step: Designing and Installing Your DIY Solar Battery Storage System
Step 1: Calculate Your Energy Load
Before buying anything, figure out how much power you actually need. List every device you want to run, note its wattage, and estimate daily usage hours.
Example:
- LED lights (50W × 5 hours) = 250 Wh
- Refrigerator (150W × 8 hours) = 1,200 Wh
- Laptop (60W × 4 hours) = 240 Wh
- Total daily load: ~1,690 Wh ≈ 1.7 kWh
Add 20–30% buffer for inverter inefficiency and cloudy days. So you'd target a 2–2.5 kWh battery bank and enough solar capacity to recharge it daily (typically 300–500W of panels, depending on your location's sun hours).
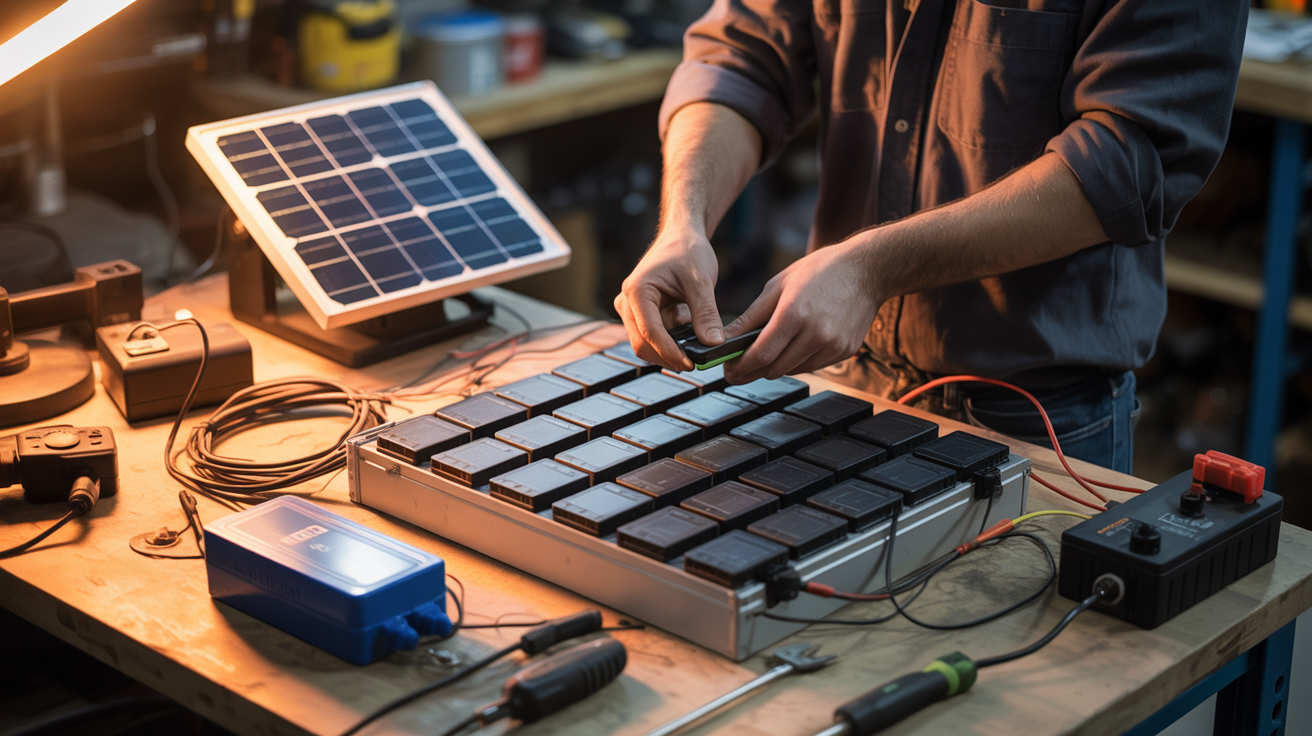
Step 2: Source and Assemble Components
Once you know your needs, shop for matched components:
- Batteries: Look for UL-certified LiFePO4 packs with integrated BMS. Quality matters, cheap batteries can fail early or pose fire risks.
- Charge controller: Choose MPPT over PWM for efficiency. Match input voltage to your panel array and output to battery voltage.
- Inverter: Pure sine wave models protect sensitive electronics. Size for peak load plus startup surge (motors can draw 2–3× rated power briefly).
- Wiring: Use appropriately gauged copper cable (consult voltage-drop charts). Include inline fuses or breakers.
Pro tip: Modular, pre-integrated systems like those from Humless eliminate mismatched parts and streamline installation, especially if you're new to electrical work.
Step 3: Wire the System Safely
Follow this connection sequence to avoid shorts and damage:
- Panels to charge controller: Connect solar array positive and negative leads to the controller's PV input terminals. Double-check polarity.
- Controller to batteries: Wire the controller's battery output to your LiFePO4 bank (again, observe polarity). The BMS will activate once connected.
- Batteries to inverter: Connect battery terminals to the inverter's DC input. Secure all connections with heat-shrink or electrical tape.
- Inverter AC output: Wire to a distribution panel, transfer switch, or dedicated outlet for your loads.
Insulate every connection point. Work in a well-ventilated, dry space, and keep a fire extinguisher (rated for electrical fires) nearby.
Step 4: Mount Solar Panels
Position panels where they'll catch maximum sun, typically facing south (in the Northern Hemisphere) at a tilt equal to your latitude.
- DIY frames: Simple 2×4 lumber frames with L-brackets work for ground or roof mounts. Ensure the angle sheds snow and rain.
- Secure mounting: Use stainless-steel hardware to prevent rust. For roof installs, seal penetrations with flashing or sealant to avoid leaks.
- BMS and compression: If you're building a custom LiFePO4 pack, sandwich cells with EVA foam pads and compression plates to prevent swelling and extend life.
Step 5: Install Control Equipment Indoors
Mount your charge controller, inverter, and any optional grid charger on a wall-mounted board (plywood or pegboard) in a temperature-stable location, ideally between 50–80°F. Avoid direct sunlight, moisture, and extreme heat or cold.
Label every wire, fuse, and breaker. Clear labeling makes troubleshooting and future upgrades far easier.
Step 6: Test in a Controlled Environment
Before connecting critical loads, run a few low-stakes tests:
- Verify the charge controller shows incoming solar power and correct battery voltage.
- Switch on the inverter with a single light or fan to confirm AC output.
- Monitor battery charge/discharge cycles for a day or two.
If readings look good and nothing overheats, gradually add more loads.
Why LiFePO4 Cells Are the Right Choice for DIY
Three reasons LFP dominates DIY:
- Thermal stability. LFP cells don't go into runaway as easily as NMC. Critical when you're not factory-supervised.
- Cycle life. 4,000–6,000 cycles vs. 500–1,000 for lead-acid. Daily cycling on a residential off-grid system burns through lead-acid in 2–3 years.
- Voltage profile. LFP holds a flat voltage across most of its discharge curve, which makes inverter sizing simpler.
BMS Selection: The Decision Most DIYers Get Wrong
The BMS (battery management system) is the difference between a long-life pack and a fire hazard. Specs that matter:
- Cell-level monitoring. Every cell, not every group. Avoid “4S BMSs” that monitor 4 series-strings as one.
- Active balancing. Pulls charge from high cells into low cells in real time. Critical for long pack life. Passive balancing (resistor bleed) is acceptable for low-cycle applications.
- Continuous and surge current rating. Match to your inverter's continuous and surge spec.
- Communications. CAN bus or RS-485 to talk to a hybrid inverter. Some inverters require specific BMS protocols (Victron, SMA, Schneider, SolArk).
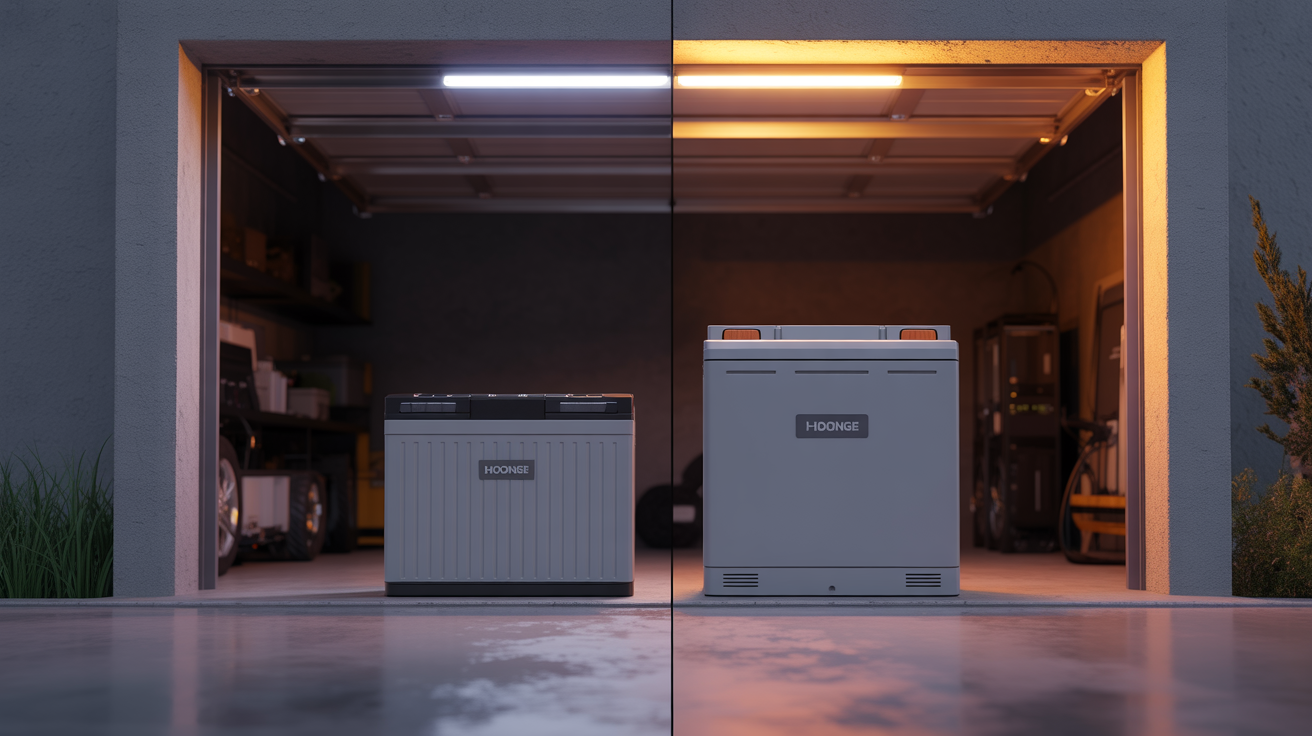
Why Wide Temp Cells Make Sense for Outdoor Enclosures
Most DIY builds end up in detached garages, sheds, or weatherproof outdoor cabinets. Standard prismatic LFP cells (EVE LF280K, CATL, etc.) are spec'd for 0°C to 45°C charging. Below freezing, the BMS blocks charging — your shed-mounted bank stops accepting solar in January and February.
Wide Temp prismatic cells with the integrated low-temperature charging system extend that to −40°C. For DIYers building in cold-climate states or northern latitudes, this is often the deciding factor between a system that runs year-round and one that's seasonally useful.
Common DIY Mistakes to Avoid
- Underfusing. A 200A inverter on a battery bank needs a Class T or NH fuse rated for the battery's short-circuit current (often 5,000–10,000A on a paralleled LFP bank). Standard automotive fuses fail to interrupt the short.
- Ignoring NEC 690.31. DC wiring run inside walls or ceilings has specific requirements. Don't run 48V DC in Romex.
- Mixing cell vintages or chemistries. Older cells in the same string as new cells will pull the new cells down. Build a pack from a single batch.
- No permits. Off-grid in some states is permit-exempt; grid-tied is never. An unpermitted install can void homeowners' insurance and create resale issues.
Safety, Maintenance, and Maximizing Your System's Performance
Safety First: Avoiding Common Hazards
Voltage matching is non-negotiable. Mixing 12V and 24V components will fry your gear, or worse. Always confirm specs before wiring.
Prevent shorts by using insulated terminals, heat-shrink tubing, and cable management. A single loose wire can spark a fire.
Ventilation and temperature: Batteries perform best between 50–80°F. Store them in a ventilated area away from direct sun, freezing temps, or moisture. LiFePO4 cells are safer than lead-acid, but they still need proper conditions.
Fire safety: Keep a Class C fire extinguisher within reach. Never overload your inverter, it can overheat and fail.
Mistakes DIYers Make (and How to Avoid Them)
- Incompatible parts: Always cross-check voltage, current ratings, and connector types.
- Undersized inverters: Inverters rated below your peak load will shut down under strain. Build in 20–30% headroom.
- Skipping the BMS: Without cell monitoring, LiFePO4 packs can become unbalanced and degrade quickly.
- Poor wire gauge: Thin wires cause voltage drop, heat, and potential fire. Use a wire-size calculator.
Routine Maintenance for Longevity
- Monitor system health: Use a battery monitor or app (many modern BMS units offer Bluetooth) to track voltage, current, and state of charge.
- Clean panels regularly: Dust, leaves, and bird droppings reduce output. A quick rinse or wipe every few months keeps efficiency high.
- Inspect connections: Check for corrosion, loose terminals, or frayed wires quarterly.
- Clear snow: In winter, gently sweep snow off panels to restore production.
- Replace worn parts: Fuses, connectors, and cables don't last forever. Swap them out at the first sign of damage.
Maximizing Efficiency and Runtime
- Upgrade to MPPT: If you started with a PWM controller, switching to MPPT can boost harvest by 20–30%.
- Expand capacity smartly: Add batteries in parallel (same voltage, more amp-hours) for longer runtime, or in series (higher voltage) for larger inverter compatibility.
- Load management: Run high-draw appliances during peak sun hours to minimize battery drain.
- Invest in quality: Reliable, UL-certified components like Humless BESS reduce failures and offer 24/7 support when you need it.
When to Call a Pro
DIY is empowering, but some tasks, like grid-tied interconnections, complex wiring, or rooftop work, benefit from professional help. If you're unsure about electrical codes, permits, or safety, consult a licensed solar installer or electrician. Many offer design reviews or partial installs that let you handle simpler tasks yourself.
Frequently Asked Questions About DIY Solar Battery Storage
What are the essential components needed for a DIY solar battery storage system?
A DIY solar battery storage system requires deep cycle LiFePO4 batteries (the core), an MPPT charge controller (maximizes efficiency 20–30%), a pure sine wave solar inverter (rated for your peak load), properly gauged cables, mounting hardware, and a Battery Management System (BMS) to monitor cell health and prevent overcharging.
How much solar battery storage capacity do I need for my home?
Calculate daily watt-hour usage by listing each appliance's wattage and daily run hours. For example, lights (250 Wh) + refrigerator (1,200 Wh) + laptop (240 Wh) = 1.7 kWh. Add 20–30% buffer for inverter inefficiency and cloudy days, targeting a 2–2.5 kWh battery bank as a typical starting point.
Why is voltage compatibility critical in DIY solar battery storage systems?
Mismatched voltages between solar panels, charge controller, batteries, and inverter will cause equipment failure or damage. All components must work at the same voltage (commonly 12V or 24V). Always verify manufacturer spec sheets to prevent shorts, overheating, and potential safety hazards.
What's the difference between MPPT and PWM charge controllers for solar storage?
MPPT (Maximum Power Point Tracking) controllers are far more efficient than PWM controllers, harvesting 20–30% more energy from your solar panels. MPPT also prevents overcharging and extends battery life, making it the preferred choice for DIY solar battery storage systems despite higher upfront cost.
How do I maintain my DIY solar battery storage system for long-term performance?
Monitor system health using a battery monitor or app, clean solar panels every few months to remove dust and debris, inspect connections quarterly for corrosion or loose terminals, clear snow off panels in winter, and replace worn fuses, cables, or connectors promptly to ensure reliable solar battery storage operation.
Can I expand my DIY solar battery storage capacity after installation?
Yes. Add batteries in parallel to increase amp-hours (longer runtime at same voltage) or in series to raise voltage. Scale up your solar panel array and inverter size accordingly. Modular LiFePO4 systems are designed for expansion, letting you grow your solar battery storage as needs evolve.
Reviewed By
DIY guide authored and reviewed by Wide Temp engineering, with input from our prosumer customers' build experiences. NEC references current as of NEC 2023. Final review: Darrell Jakins, CEO.
If you're building a DIY system, our prismatic Wide Temp cells are available in 100Ah and 280Ah configurations. Email us for the spec sheets and bill of materials we recommend for the most common DIY architectures.
Reviewed by Intelligent Power Engineering Team
This article was written and fact-checked by our in-house battery engineering team with 50+ years of combined experience in LiFePO4 technology and wide temperature battery systems.
Meet our team →